
In uncertain and anxiety-inducing times, we’ve all had to make sacrifices and learn how to keep up our routines from our homes. Some of those sacrifices include foregoing hair and nail salons, avoiding gyms and visiting our dermatologists and estheticians. However, just because we can’t go out like we’re used to, doesn’t mean our skin has to suffer; learn how to perform your own facial from the safety of your bathroom! My team at DermWarehouse is here to help you break down the essential steps that you need to pamper yourself at home and keep your skin on track.
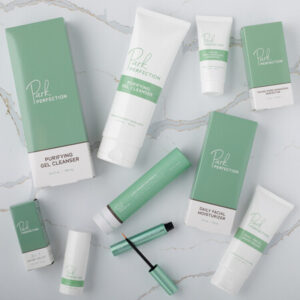
STEP ONE: Cleanse
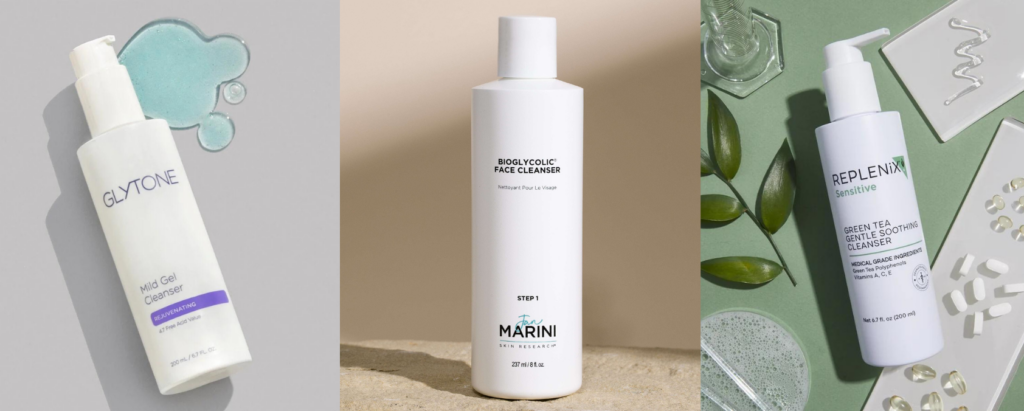
This is generally where any skincare routine or facial starts. Wrap your hair in a headband or towel and gently massage your favorite cleanser into your skin. Use a warm cloth to gently remove the cleanser and pat dry. Be sure to look into cleansers that work for your skin type! The SkinMedica Facial Cleanser is a foam consistency with Panthenol (Pro-Vitamin b5) that leaves your skin hydrated, and is suitable for all skin types. For a water-based consistency, the ClarityRx Cleanse Daily cleanser is formulated with vitamins, conditioning olive oil, rose hip seed oil and seaweed, this is a great option for those looking for a multi-benefit cleanser.
For more tips and recommendations for cleansers, check out this post.
STEP TWO: Examination
Take a second to deeply examine your skin. What concerns do you have at the moment? Are you breaking out more than usual, or super dry? This step is important to determine what kind of products and ingredients you’ll want to use for the later steps of your facial.
STEP THREE: Steam
This step may look a little different at home- place a wet, warm towel over your face and gently hold it for about a minute. You can also hold your face over a bowl of hot water, or even invest in a facial steamer. This step is important for prepping your skin, loosening up whiteheads and blackheads and opening up your pores to receive the targeted products and ingredients.
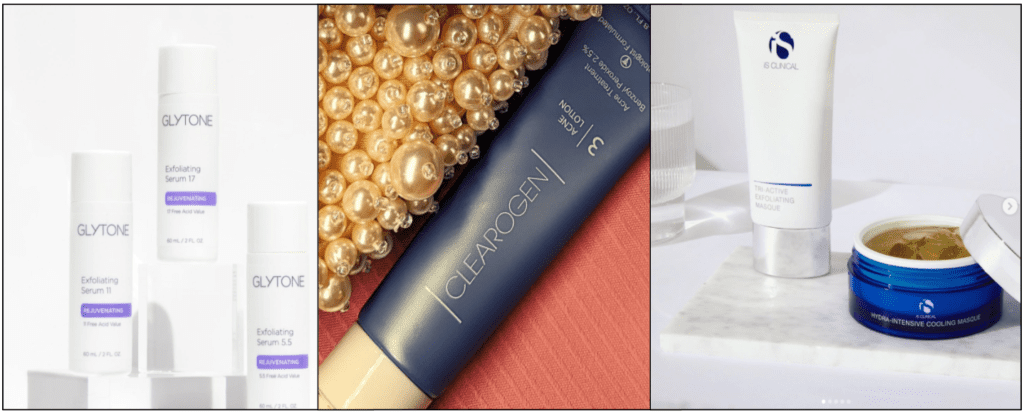
STEP FOUR: Exfoliation
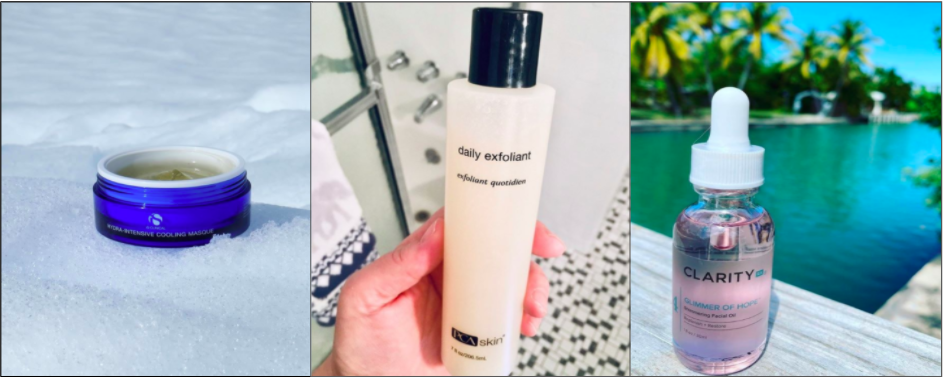
You’ll want to find your favorite exfoliating gel, cream, mask or peel to rid your skin of dead skin cells, dirt and excess oil and prepare it for targeted treatments. Depending on your preference for chemical exfoliants or physical exfoliants, try the DefenAge 2-Minute Reveal Mask or the Obagi Professional C Microdermabrasion Polish Mask for physical exfoliants, and the PCA Skin Daily Exfoliant for a chemical exfoliant option.
STEP FIVE: Extractions
Now that your skin is prepped, steamed and exfoliated, this is the step where you can extract any whiteheads or blackheads that may be lurking. However, this is not an excuse to go picking at blemishes- there are tools specifically made for skin extractions, like the Zyderma Extraction Tweezer Set. Beware of excessive or prolonged force-this can damage your skin. Follow the product’s directions closely to avoid skin damage.
STEP SIX: Massage
Next up, take your relaxation a step further with a facial massage. This step can be customized to your preferences, whether you’d like a longer, shorter or more targeted massage. A facial massage will stimulate the muscles in your face, reduce puffiness and help send you into a state of relaxation. You can use a tool like the Solaris Labs NY Jade Gua Sha Face Sculpting Tool. Also adding a facial oil, like ClarityRx’s Glimmer of Hope Shimmering Facial Oil will help make your skin soft and smooth and prepare it to be massaged.
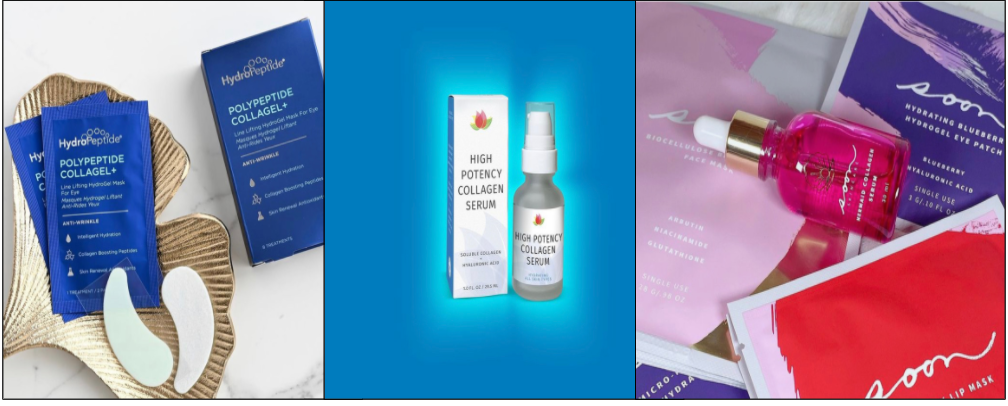
STEP SEVEN: Face Mask
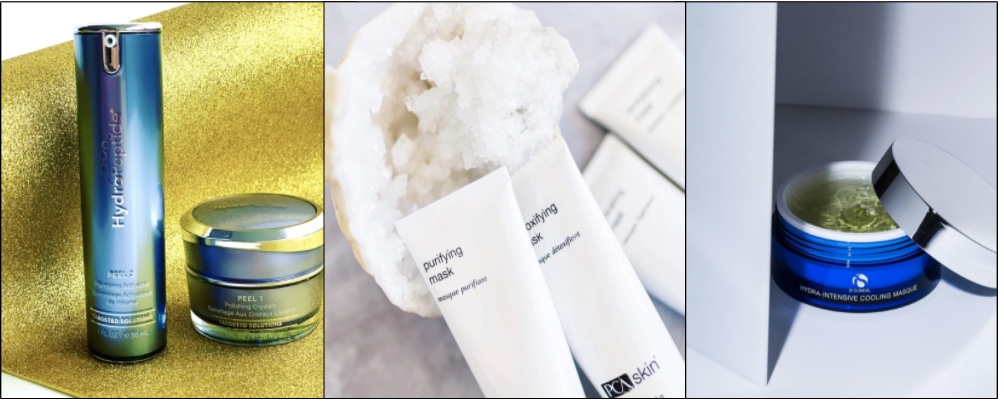
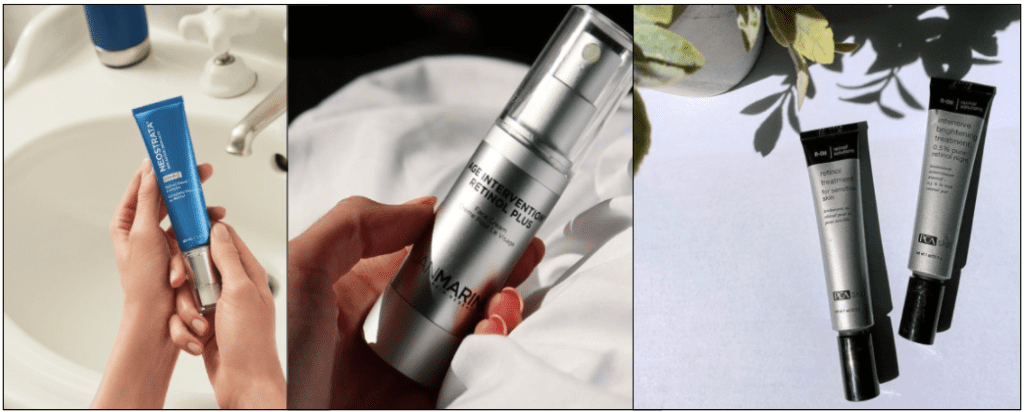
Based on what your skin looks and feels like, you’ll want to use either a sheet or liquid mask with ingredients targeted for your concerns. If you’re looking for anti-aging benefits, the ClarityRx Daily Fruit Mask is loaded with ingredients and pentapeptides that aid in collagen production and restoring and reviving skin, and the Jan Marini Retinol Plus Mask uses retinol, peptides and antioxidants to reduce the appearance of fine lines and wrinkles. For detoxifying benefits, the ClarityRx Rehab Mask uses vitamins, pure herbal extracts and nourishing oils to purify and clarify pores. If you’re looking for hydration, the iS Clinical Hydra Intensive Cooling Masque or the HydroPeptide Radiance Mask will soothe, hydrate and nourish your skin.
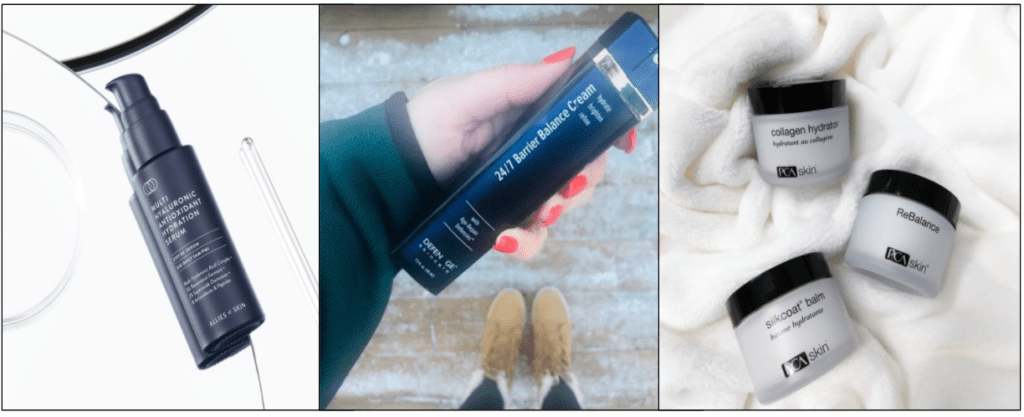
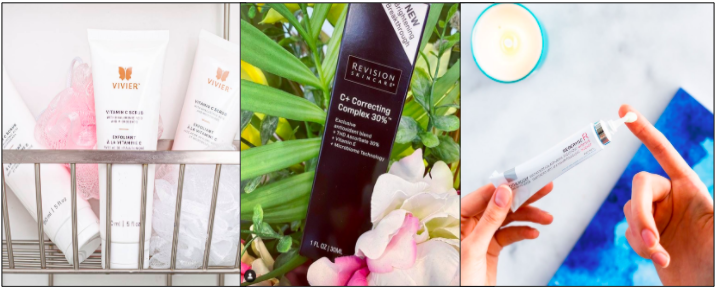
STEP EIGHT: Serum
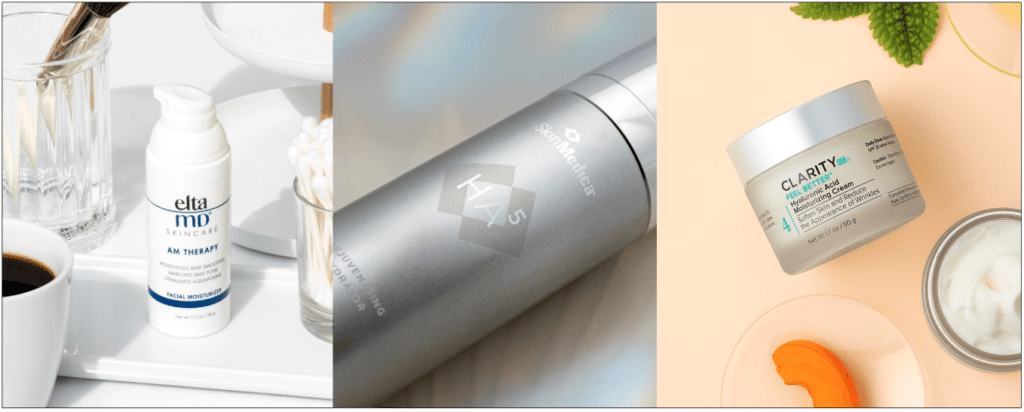
Serums are treatments that deliver highly concentrated ingredients into your skin to target concerns. Pull out your favorite serum and massage it slowly and deeply into your skin. For a universal treatment for your skin, the SkinMedica TNS Advanced+ Serum is an all-in-one treatment that improves skin tone, texture, wrinkles and fine lines. For a boost of hydration, ClarityRx’s Daily Dose of Water is a lightweight serum with hyaluronic acid to hydrate your skin. If you’re looking to reduce hyperpigmentation, the iS Clinical Super Serum Advance combined Vitamin C and Copper Tripeptide growth factor to help with anti-aging.
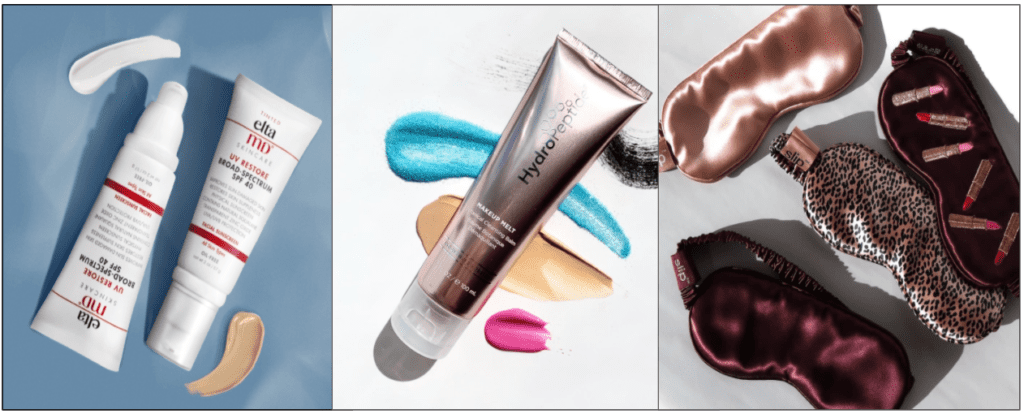
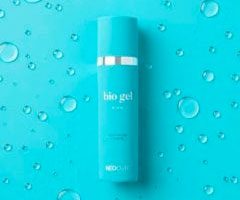
STEP NINE: Moisturizer
Here’s where you want to lock in all the nutrients your skin has taken in and leave it hydrated and smooth with a moisturizer. The SkinMedica Dermal Repair Cream is a gentle yet rich moisturizer to make your skin smooth and soft, while the PCA Skin Rebalance is a lighter formula that calms, soothes and hydrates normal to sensitive skin.
STEP TEN: Eye Cream
Don’t forget your eyes! The skin around your eyes is the most sensitive on your face, so it’s important to treat them as such. Find a serum that works for your eye area concerns- is your skin dry or puffy? Do you need some extra brightening help? Reduce puffiness and wrinkles with SkinMedica’s Uplifting Eye Serum, and wake up tired and dull skin with Avene’s Retrinal Eyes.
STEP ELEVEN: Lip Balm
Finish off your relaxation time by keeping your pout hydrated and soft. If you have a favorite lip mask or hydrating balm, apply to your lips and hold on to that relaxed feeling as you go about your day or night. Lock in hydration with the HydroPeptide Liplock Hydrator, or boost the plumpness of your pout with the PCA Skin Hyaluronic Acid Lip Booster.
Take the time to give your skin the TLC it really needs and make it a time of relaxation for your mind and body. Light a candle, put on your favorite PJ’s and be intentional with the care you give to your skin.